Pages

Sunday, August 5, 2012

Maine Quilts 2012- The Finale

Here is the final installment of Maine Quilts 2012. These are quilts that were in the individual display category.
Marilyn's My Valentine
The heart blocks in this quilt were won by Marilyn during our monthly block drawing.

Anita's Tesselations by the Sea 

Marilyn's The Color Wheel
I believe she made this from the left over fabric from her quilting studio curtains.

Pat's Starry Delight
This is  paper pieced, exquisite workmanship.

  Gift from Saint Nicholas
(I apologize for the blurry photo, definitely the photographer!)
Santa with his List
Both of the above Santa wall hangings are Pat's work as well.
The patterns are from Jan Kornfeind's Olde Santa Series.

 
Santa of Peace
   I did not enter this in the show, but I wanted to share my try at one of the Olde Santa Series. The original pattern was to be curved at the top. I modified it a bit keeping the curve on the inside of the border and squaring off the top outside edge. I find squared wall hangings easier to hang than curved ones. I plan to make the Gift Bringer for this Christmas.

  This concludes my photos of the quilt show. I hope you have enjoyed it.

Til next time,
Mary

Friday, August 3, 2012

Maine Quilts 2012- The Artbras

One of the special projects our chapter did during 2011-12 was to decorate plain everyday bras into works of art. We had much fun and discovered that some of our members have a wicked sense of humor.
This is was the display of all 13 bras. 
The quilt show visitor seemed very interested in our creations.
 Therese's Not Your Mama's Sports Bra

Pauline's Feeling Racy 

Sabine's Mardi Bra

Mary's Tropical Temptations 

Louise's Bear Everything 
Pauline's Wild Cats

Pat's The Cat's Meow 

Janet's Second Base 

Virginia's Full House 

Lucy's Stuffing 101 

Wes's Blooming Boobies 

Janette's Under the C Cup 

Janet's Chest Protector 

A very special thanks to Virginia who put together the wonderful display.

My next post will be the last of the quilts from Maine Quilts 2012. By then I hope to have some of my own projects to share with you.

Til next time,
Mary

Wednesday, August 1, 2012

Maine Quilts 2012- Part 3

My computer was a bit slow this morning loading photos from the show. So, I was only able to load a few today. The first two were from the judged division. 

This is Lori's 40th Anniversary Quilt
It received a second place red ribbon.
Congratulations Lori!
This is Nancy's Illusions
It received a third place yellow ribbon.
Congratulations Nancy!

The next two quilts came from our Mystery Block of the Month 2010-2011. The first one is my interpretation, which I did not enter into the show. The second is Sarah's. I wanted to show how very different the same pattern could be based on color scheme and block arrangement.
Mary's Candy Coated Chocolate

Sarah's Star Sampler 
Both quilts were from Paula Stoddard's pattern "Southern Star Sampler" 

Til next time,
Mary

Monday, July 30, 2012

Maine Quilts 2012- Part 2


This is the second half of the Chapter Challenge quilts- "Triangles of Friendship."
Nancy's Blooming Lupines 

Cheri's Peeling Oranges 

Ella's Church Window 

Kim's Friendship Tree of Life 

Hannah's Mr. Emma 

Sharyn's Friendship Baskets 

Next time I'll post the judged division quilts from the members of our chapter.

Til next time,
Mary

Saturday, July 28, 2012

Maine Quilts 2012- Part 1

Maine Quilts 2012 opened Friday. This show is made possible by the efforts of volunteers, to each and every one, THANK YOU!  As usual, the quilts were beautiful, very well stitched and quilted. I am always in awe of the talents of our all quilters. Today, I will share some of our Chapter's Challenge quilts, with the remainder shared tomorrow. The challenge was "Triangles of Friendship" inspired by Edyta Sitar's Friendship Triangles. We were to combine batiks and regular cottons, using at least four each of a tangerine  and a neutral batik in half-square triangles. 

Eileen's Illumination Gone to pieces

Heather's Falling Leaves

Anita's Batik Medallion 

Virginia's Aussie Palms 

Wes's Springtime Beauties 

Nina's Too Many Triangles 

Sally's Arbe de Vie 
I hope you have enjoyed the quilts.
Til next time,
Mary

Friday, July 20, 2012

Two Projects Finished

After all the traveling and building, I finally pick up some fabric to complete a couple of projects. First are a set of hot pads. The blocks are from Eleanor Burns Day & Night. I made a pillow runner for my Mom and these were the left over pieces. These are thick, very thick hot pads which make great gifts.


Hot Pad “Filling”
Materials:
  Lots of scrap strips of varying widths(1/2" to 1 1/2") and lengths.
  Foundation approximately 1” larger than your desired finished size. It can be any cotton fabric.

1. Place one strip at the right edge of the foundation.
2. Lay the second strip so that it overlaps the first and stitch the length of the strip. You can use a straight or zig zag stitch.
3. Lay the third strip so that it overlaps the second and stitch.
4. Continue adding strips until you have covered the entire foundation.
5. Rotate the block and add strips just as you in Steps 1-4 until the entire square is covered.
6. Repeat two more times. You will have 4 layers plus the foundation( 5 total). This is your hot pad “filling”. DO NOT trim. When you have completed your hot pad “crusts”, you will trim to size.


Hot Pad “Crusts”
You will need 2 “crusts” for each hot pad, which can be made from any block pattern. If you have orphan blocks this is a great way to use them.
1. Take each of your blocks and quilt it to 1 layer of batting. The batting should 100% cotton or 80-20 cotton/poly, but NOT 100% polyester, as it could melt. Threads used should also be 100 % cotton.
2. When you have finished quilting, trim your “filling” and “crusts” to the desired size.
3. Layer crust right side down, filling, crust right side up. Baste together the edges of the three layers. The layers of the hot pad will be held together with the binding. 
4. Finish using your favorite binding method.


The second project finished was Strip Twist from Bonnie Hunter at Quiltville. I love making scrap quilts and her patterns are a lot of fun. I really like taking fabric that might be considered "trash" worthy and turning it into something useful. If it's beautiful as well, all the better.
I tried to make the quilting in the inner border look like a braid. The corners presented a challenge, but overall I am satisfied. Each Half-Square of each block had feathers as seen here. The outer border had piano key quilting.

Til next time,
Mary

Monday, July 16, 2012

Cushions for the benches

Now that the benches are built and painted, it's time to make the cushions. An excursion to Joann's with Wes yesterday resulted in this fabric( along with several other items) coming home with me. The white works well with the new white benches, the blue compliments the carpet, brown to add some contrast, and a very pale sea foam green that I'd like to paint the walls. Perfect!
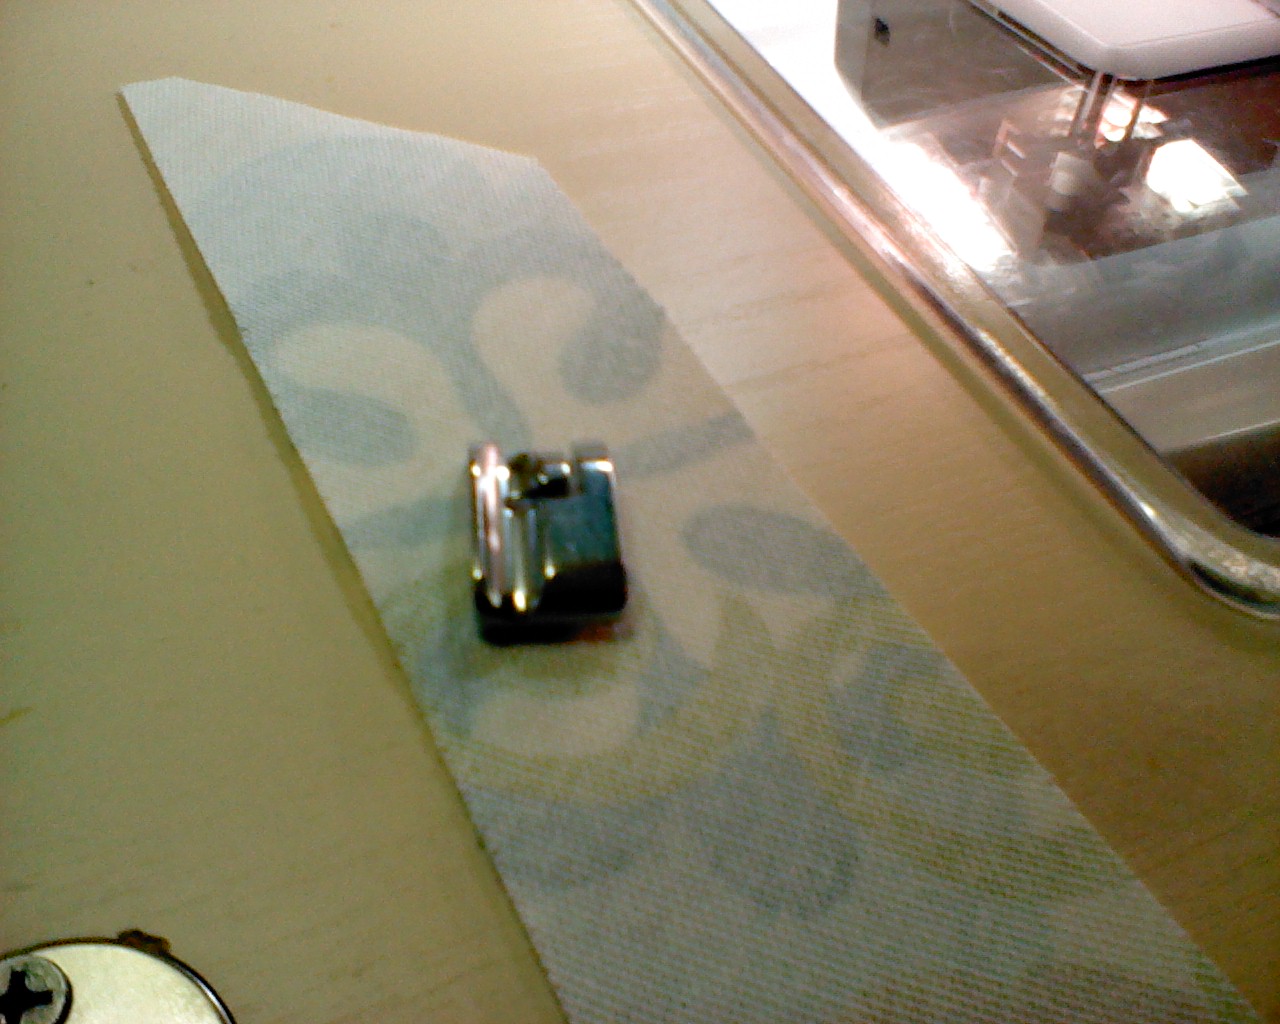
First I cut the top and bottom panels to size, then it was time to make the welting. This required 9 1/2 yards of bias strips cut 2 inches wide and sewn together on a 45 degree angle. This welting foot is very helpful in making the welting. It has a channel that rides over the cording and the needle stitches up close.


 I stitched the cording into the bias. Then trimmed the seam allowance to 1/2.


I pinned the welting to the top to determine the exact length needed, and joined the ends in the same manner as I do for binding. Returning to the sewing machine with the welting foot, I sewed the welting to the top and bottom panels.


When I came to corners, I made four clips just shy of the stitching line. Pinning each little tab keeps the fabric flat and in place. 
After the welting was sewn on, I attached the sides to complete the cushion.


The finished cushion showing the welting. It fits very nicely and brightens up the area.


This is the corner of my quilting studio which I have been redoing.
The design wall is complete.
All my quilt books are stored in the benches.
The only thing left to do is sew the second cushion, and I will be ready to resume my quilt making.

Til next time,
Mary

Sunday, July 15, 2012

Scrap Builder Part 2


This is the beginning of the second bench/bookcase. The structure in the front will be the base. It is constructed from recycled 2x4's brought from NJ. The structure in the rear is the bench/bookcase. It is constructed from recycled particle board shelving. Actually, it is a composite made from wheat. I tried to find more of it, but apparently they aren't making it any more.
This is the dry fit of the bench. I wanted it to span the entire distance between the Accuquilt cabinet on the left and the TV stand on the right, but I didn't have any boards long enough. I pieced the bottom and left the space on the left to place a rectangular trash bin.
This is a close up view of the TV stand which I built around 1998 for my oldest son's room. I constructed it from MDF and shelving, but never painted it. Now all four units will be a nice clean white.

This is the view showing the two benches and TV stand. Above the right bench is my new design wall. It is made from 1 inch 4' x 6' rigid foam insulation covered with Warm & Natural batting. I used basting spray to adhere it to the foam. The frame is 2" x 2" deck balusters painted white. Once the benches are painted, then I'll make covers for the cushions.

Til next time,
Mary