A sewing machine. If I am planning only to piece, I bring Charlotte. She sews a beautiful stitch and doesn't weigh much. If I will need anything other than a straight stitch, I take Francie, my Husqvarna/Viking 400.
A light source. I have a pink folding Ott light, but prefer this Jansjo LED Lamp from Ikea. It is very bright and flexible. I can direct the light exactly where I need it without the lamp getting in the way. Important when in hotel rooms without adequate task lighting.
A thread catcher. This has become my favorite as it folds down when not in use. Check here for where to find the pattern and my alterations.
A sewing machine mat. I use a microfiber dish drying mat. They reduce noise & vibration from the machine, protect the tabletop from scratches, and they attract loose threads. You can find them in the kitchen supplies department at Walmart, Bed, Bath & Beyond, Target, etc. I think I will add a pocket section to the front to hold my scissors, stiletto, etc.


A cutting mat and pressing surface. I use an Omnigrid Cutting & Pressing Station. It is compact and fits inside my trolley.

Cutting tools. A small cutting mat (cut from an old mat), a rotary cutter, a pair of 8" shears, and a small pair of scissors. Don't forget an extra new blade for the rotary cutter.
 An iron and spray bottle. I found this cute little Sunbeam Hot to Trot Travel iron. It is lightweight, doesn't automatically turn off, and has a very comfortable handle. The spray bottle can be filled with plain water or a starch. I prefer Mary Ellen's Best Press as I am a presser, starcher, presser. I seal the bottle in a gallon size Ziploc bag when it is in the trolley.
 Thread. I bring several spools of neutral threads. I like Aurifil thread and Alex Anderson's Masterpiece Threads from Superior Threads for piecing. Aurifil is 50/2 and Masterpiece is 50/3. Originally, Masterpiece was a 2-ply but now comes as a 3-ply. When I sew with 2-ply thread, I shorten my stitch length to 14-16 stitches per inch(2.0 on newer machines). This provides a stronger seam. Similar to many light coats of paint rather than one thick coat.
  Bobbins and a holder. Have you ever traveled to a workshop only to realize you had only one bobbin? These flexible bobbin donuts are terrific! Load them with pre-wound bobbins in the neutral colors, along with some empty ones and, you're all set.


Pins and pincushion. I use extra fine glass head pins 1-3/8 inches long which, I keep in a small plastic tub with a lid. Glass head pins won't melt if you accidentally go over them with an iron. I also keep an emery strawberry snuggled into a glass candle votive holder.
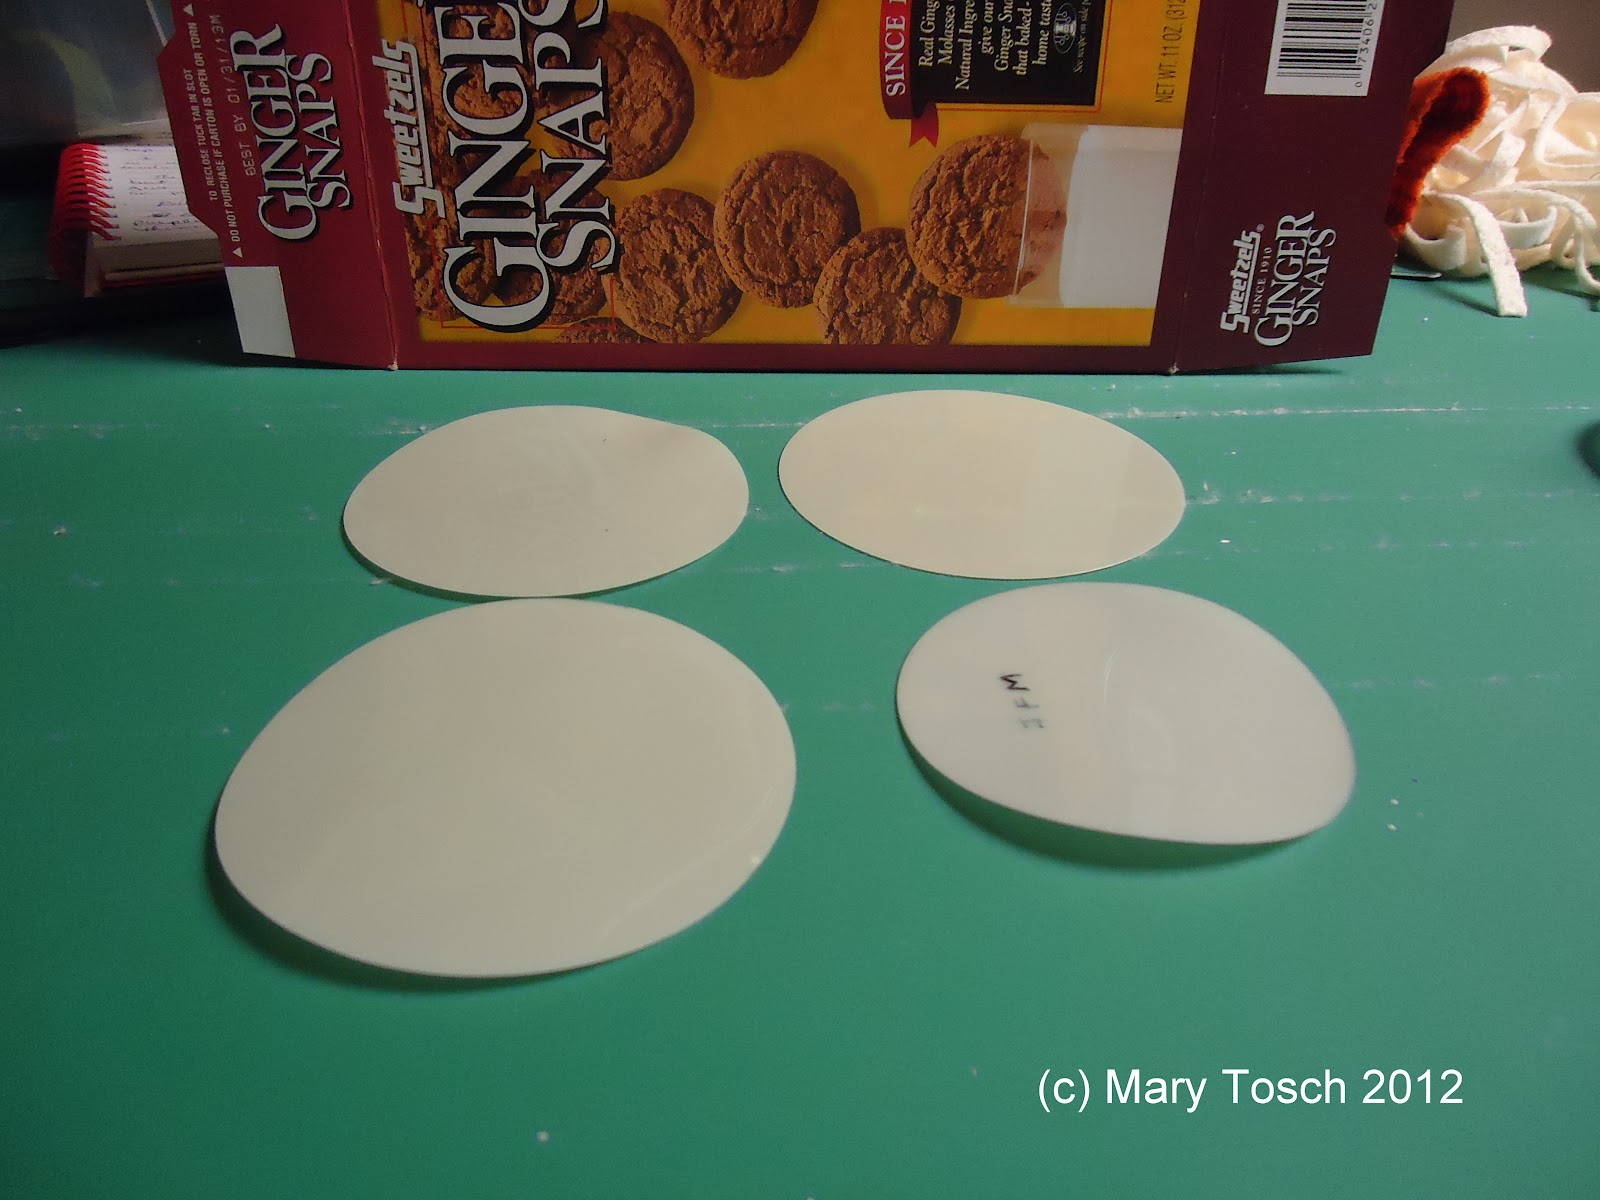
 Marking tools. I pack two ceramic lead pencils, one white and one black, to mark lines on the back of my patchwork pieces. I made a 5-inch square patchwork board by gluing a 5"x 5" square of 200 grit sandpaper to a square of paperboard(the stuff that comes on the back of notepads). The patchwork board is essential to keep squares from becoming distorted when drawing lines on the diagonal.
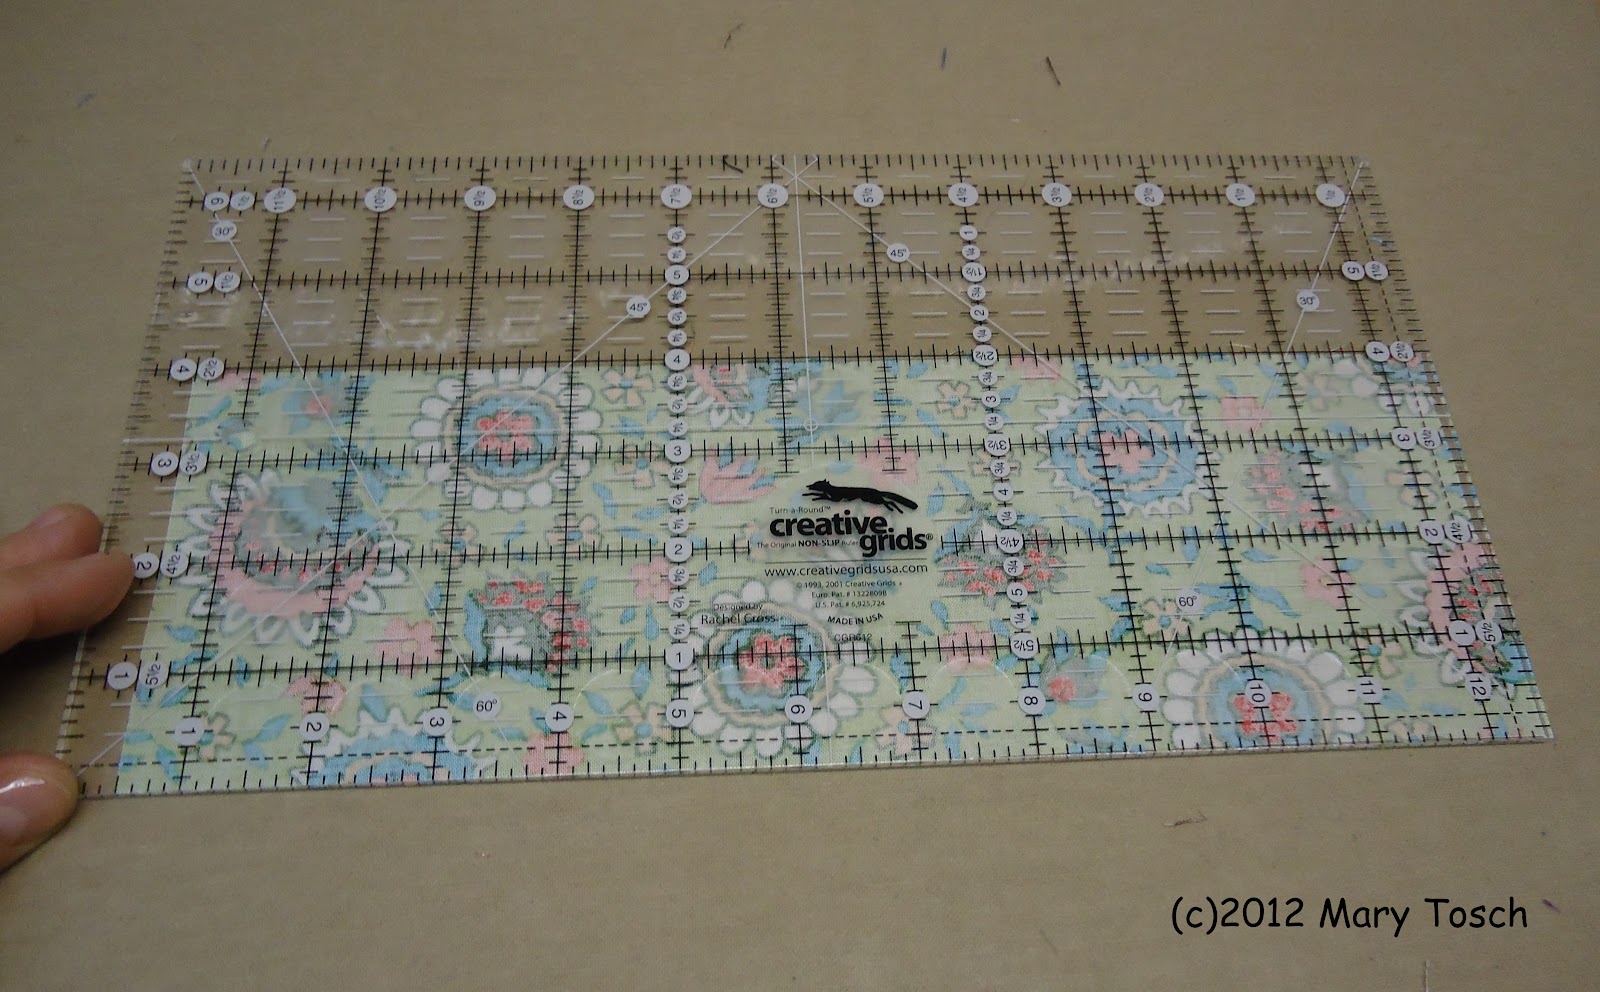
 Rulers. I keep 4 rulers in my trolley; a 12.5 inch square; a 6.5 inch square; a 2.5 inch square; and a 6 inch by 12 inch rectangle. I will also bring any special rulers needed for a specific project. I have recently switched over to Creative Grids brand in my studio, so these Olfa rulers have become the travelers.
  An Eyebrow trimmer to safely un-sew seams. A Stiletto, the tool you never knew you needed, but once you have it, you don't know how you quilted without it. Tweezers necessary to remove threads from the rotary hook of the bobbin assembly. Eye shadow make-up brush, an excellent tool for removing lint from the bobbin area. A seam ripper- okay, I usually don't use it, but its there just in case.

Sometimes, I have to replace my seam guide and I will need extra Scotch Magic Tape and Re-Stickable Strips. The Magic tape is also necessary if I want to sew over vinyl. By adhering some to the bottom of my presser foot, making an opening for the needle and thread, there is no sticking to the vinyl.

Bed risers (a new addition) for those times when one must sew on a coffee table. An extension cord and a power strip as some hotels may not have enough outlets or they may be located in the wrong spot.

The last thing that I pack, which changes often, is my project. I try to kit it up as best I can and transport it in plastic scrap booking boxes with snap close lids. I include the pattern, fabric, any special rulers, several Ziploc bags, and hand sewing supplies. The Ziploc bags store not only my starting pieces, but the units once they are made.
 I realize this seam like a lot of stuff. However, all fits in my trolley, except the project box, ready to sew whenever and wherever I go.
Til next time,
Mary