
Do you find that batting scraps are multiplying
when you leave the room? I know I do. What was once a small bag has now become
a very large tote stuffed with scraps. These are not the large usable pieces.
No, these are the less than 4” wide strips that we trim from the edges after we
have quilted our quilt. So, here is what I am doing with them.
These lovely little pin cushions are made from rolled
cotton batting strips which are covered with felted wool scraps. I have added
some embellishments to the tops, but they can be left plain as well. They make wonderful gifts for your friends. So, if
you’d like to see how I make them, read on. But I will warn you, this is a long
post.


First, decide how tall you want your pincushion to
be. I make mine between 1.5 and 3 inches tall, depending on the width of the
strip. Trim the strips to your
desired width.


I now have 4 strips and a very small pile of
scraps.
Hmmm, what to do with those?

Next, I decide how thick the pin cushion will be. For me, this is determined by the size of my Fiskars paper
cutting template.

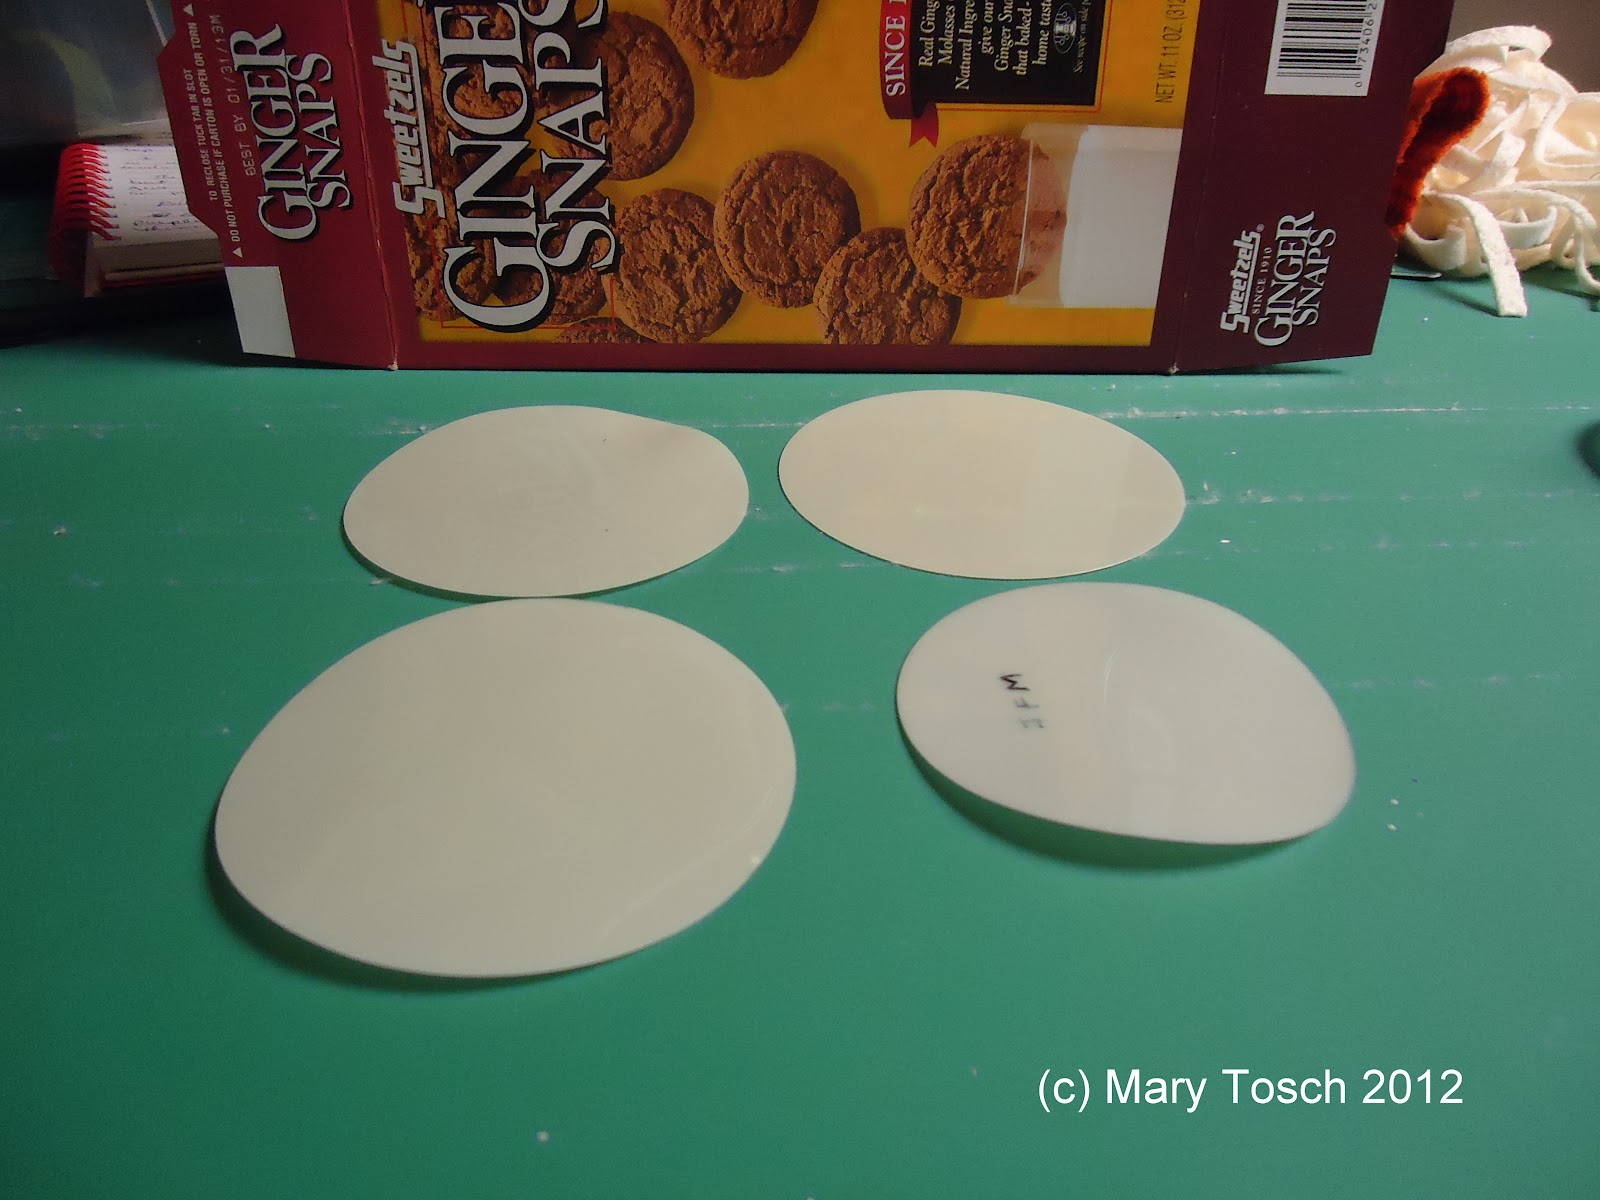
I cut two circles from a cereal box or similar weight paper
board. These will become the bottom of my pin cushion.


Begin by rolling one of the narrow ends of
the batting strip. You want this to be snug, but not so tight as to stretch the
batting out of shape.


Continue rolling, keeping one side even, until the diameter of the roll is the same as the paper board circles cut previously. Place the batting roll, even side down, on the table and tamp down the top.

This will make the bottom flat. The top side can be a bit uneven.

Now, it’s time to select our fabric. I like to choose a darker fabric for the bottom. My top fabric is usually lighter in color with minimal design. I found that even a subtle plaid competed with my embellishments. For the sides, anything goes. These were the fabrics I choose for the Pumpkin pin cushion.


Sew the folded end to the side fabric.


Thread the needle, double strand, and knot at the end. Run a gathering stitch around the top, 1/4 inch from the edge. Pull the threads to gather the fabric. Secure. Repeat for the bottom end of the batting roll.

Take the two paper board circles and glue them together.


Cut a circle
of batting using the paperboard circles as a template. Baste the batting circle to
the wrong side of the fabric that will be the top of your pin cushion. The
stitching should be very close to the edge of the batting.

The basting stitches on
the right side will indicate where the batting circle is. This is important if
you plan to embellish the top. Keep your designs within the circle. Trim the
fabric leaving 1/2” around the edge.

Cut one or
two small batting circles the size of the opening left after gathering the side
fabric. (black circle) Set these aside for later. Embellish the top at this
point. Once the top
is finished, run a double strand gathering stitch 1/4
inch from the edge.


Place
the Mylar circle over the batting on the wrong side of the top. Pull the
gathering stitch until it is snug. DO NOT cut or secure the end thread.

Spray some starch in a small container. Using a
small stencil brush, dab some of the starch around the edges of the top. DO NOT
soak the fabric. You want just enough to give the fabric some memory.

Once, the wool is dry and cool, loosen the gathering
stitches just enough to slip the Mylar circle out. Carefully,
pull the gathering stitches to re-form the circle. Set aside.

Cut
a circle from the bottom fabric 1/2 inch larger than the paperboard circle.
Run
a double strand gathering stitch 1/8 inch from the edge.

Pull the
gathering stitch and secure the thread. You can press the edges if you like.

Place the
bottom cover on the flat even end of the batting roll. With small stitches,
attach the cover to the roll, giving a slight tug to pull the two pieces
together.

Place
the small batting circle(s) in the top to make it level. Place the top cover on
the roll and secure as you did for the bottom.

I
completed the top edges with a blanket stitch, one facing up and the other
facing down.
I
hope you have enjoyed this tutorial.
Til next
time,
Mary
Nicely done tute with lots of visual aids!! Thanks once again for sharing your skills. Carol B
ReplyDeleteThanks Carol. Have fun at the retreat.
Delete