Pages

Tuesday, October 2, 2012

My Favorite Seam Guide

I try to be as accurate as possible when piecing my quilt blocks. The less trimming I have to do, the better. This is especially important with blocks and sub-units that have points. To accomplish this, I use a seam guide placed at the position that takes up 1/4" of fabric when sewing the seam. Bonnie Hunter has a very good tutorial on locating your machine's 1/4 inch.
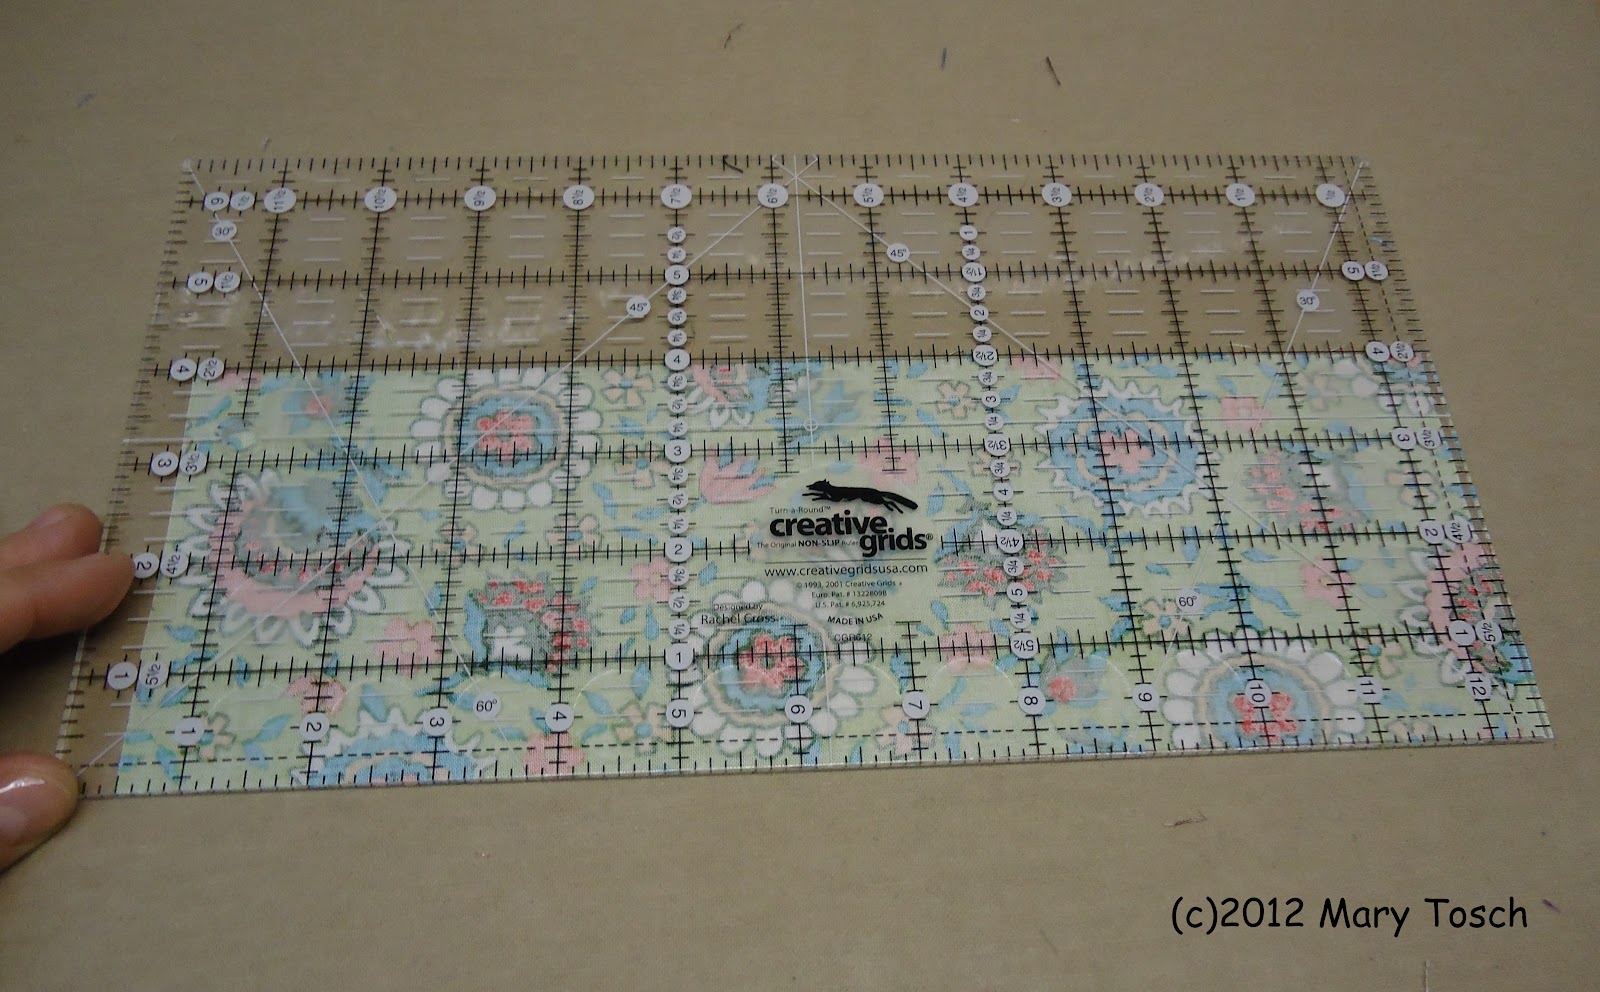
My favorite seam guide is Scotch Restickable Mounting Strips. There are 6 strips per package with each strip measuring 1"x3". They leave no residue, can be adjusted many times, provide a consistent fence, are economical (use a coupon from Joann's), and do not need to be removed when sewing non-1/4 inch seams. 

I begin by cutting one strip in half lengthwise.
Peel the printed cover from the right strip. 
This places the uncut straight edge to the right.
Pull a little of the cover from the left strip and line it up on top of the right strip, keeping the uncut straight edges of both strips on the same side. If everything lines up, gently remove the remaining cover strip and finger press to secure.
This provides a 1/8" thick fence against which your fabric can ride.
Peel off the clear cover on one side and replace it with a piece of Scotch Magic Tape( I didn't use the magic tape in this photo). Trim the Magic Tape if necessary. This prevents bits of thread from becoming stuck under the edge and provides a slick surface so that fabric glides over the top when necessary. 
Once you have your 1/4" location, remove the last cover strip and press your seam guide in place. Test drive some 1.5"x3" strips to check that you are achieving the desired result. Now, you are ready to sew those flying geese!

Til next time,
Mary


Monday, October 1, 2012

The Paisley Cottage


I just love miniatures of any kind. I used to carve tiny animals from pine, paint them, and put them into earrings. Then, I made doll clothes for my daughter's American Girl Dolls. So, when I saw these adorable mini wool applique quilts, I had to share them. Bev at Pins & Needles has a new pattern company called The Paisley Cottage. It is so exciting when you know someone who takes a chance to do something different. She has several patterns available. Visit her and see what's new.

Til next time,
Mary

Iron Cozy Handle

Aren't these travel iron cozies adorable? I found the tutorial at May Your Bobbin Always be Full. Carol, Wes, Sabina, and I now have matching cozies with the only difference being the color of our zippers. LuAnn's tutorial is very good. Of course, I didn't have strapping in my supplies, so I had to improvise.
What did I have that could be used for the handle? I could make it similar to the Bow Tucks Purse Handles. But that would be too thick. Then, I remembered the large roll of cotton paper-like material(interfacing?) sitting on the shelf. It is similar to the material used when making Roman shades for the windows. It would provide structure and strength without the bulk. Perfect. 
I cut a 2"x12" strip. Then finger pressed the strip in half lengthwise, keeping the edges as even as possible.


Then I cut a 4"x 12" fabric rectangle. Match or coordinate this with your iron cozy fabric. Press the rectangle in half lengthwise creating a good crease down the center. 
Line up the fold of the interfacing with the fold of the fabric. 
Turn up the bottom edge of the fabric over the interfacing so that it is snug. Press. Repeat for the top edge. 
I wanted to secure the edges to prevent the fabric from shifting when I sewed the handle. In the drawer, I found some 1/4 inch quilter's basting tape. It was one of those things you see at the store and say, " Hey, that's something I might need," and you buy it. That was about 4 years ago. See, I knew I would need it.
 After applying the tape to both the top and bottom flaps, peal off the paper and fold over onto the interfacing. Finger press to secure.

 
Fold the two flaps together to create a 1"x12" handle.
Pins can distort the handle when used to hold the edges in place. I found these tiny hair clips. They are perfect for holding the fabric.
Edge stitch down one side and up the other. Then stitch again 1/8" inside the first stitching. You now have a handle for your iron cozy. You can substitute fusible fleece for the interfacing. It will make a thicker handle, but works just as well.
Til next time,
Mary


Monday, September 24, 2012

Friends, Family, and Wool

Remember the delicious wool felt I bought at Stony Brook? Well, I made these adorable mug rugs. See the tiny leaves, those were scraps that VGF Carol put in my Tabletop Thread Catcher during the PTQG meeting in early September. I just couldn't let them be thrown away. No, I had to return them to her. She now has two mug rugs for when we sew together. 
My trip to New Jersey to see my Mom went fast. We celebrated her 88th birthday early: shopping, dining out, talking, and just visiting. She was a working mom at a time when most moms did not work outside the home. So, I cherish just being able to spend time with her. She has a very dear friend, Angelo. He will be 101 years old on October 21st. Don't they look cute together? She visits him most days at the nursing home. 
I said my good-byes to Mom on Tuesday morning and headed north for a visit with my college roommate and her family. We've kept in touch for 30 years, but don't often see each other. So, this was a real treat. 
 One day to visit, and I was on the road again. 
Tomorrow was a work day.
This is Cheri of Pins & Needles wearing the hat I made for her from the book Pumpkins and Spice by Terri Degenkolb. 

   While I was away, they displayed it on a vintage wire hat stand next to the book. 
She hand dyes felted wool to get some totally awesome colors.
Just look at these! The first hat I made was a bright orange with brown. It was gorgeous. Unfortunately, it didn't fit my head. So, VGF Wes is now the proud owner of an orange wool hat. I did enlarge the pattern and made another one that fits. Next, a hat for Mom to match her jacket.

Til next time,
Mary

Sunday, September 23, 2012

Batting Pin Cushions


Do you find that batting scraps are multiplying when you leave the room? I know I do. What was once a small bag has now become a very large tote stuffed with scraps. These are not the large usable pieces. No, these are the less than 4” wide strips that we trim from the edges after we have quilted our quilt. So, here is what I am doing with them.

These lovely little pin cushions are made from rolled cotton batting strips which are covered with felted wool scraps. I have added some embellishments to the tops, but they can be left plain as well. They make wonderful gifts for your friends. So, if you’d like to see how I make them, read on. But I will warn you, this is a long post.

First, decide how tall you want your pincushion to be. I make mine between 1.5 and 3 inches tall, depending on the width of the strip. Trim the strips to your desired width. 
 I now have 4 strips and a very small pile of scraps. 
Hmmm, what to do with those?

Next, I decide how thick the pin cushion will be. For me, this is determined by the size of my Fiskars paper cutting template.

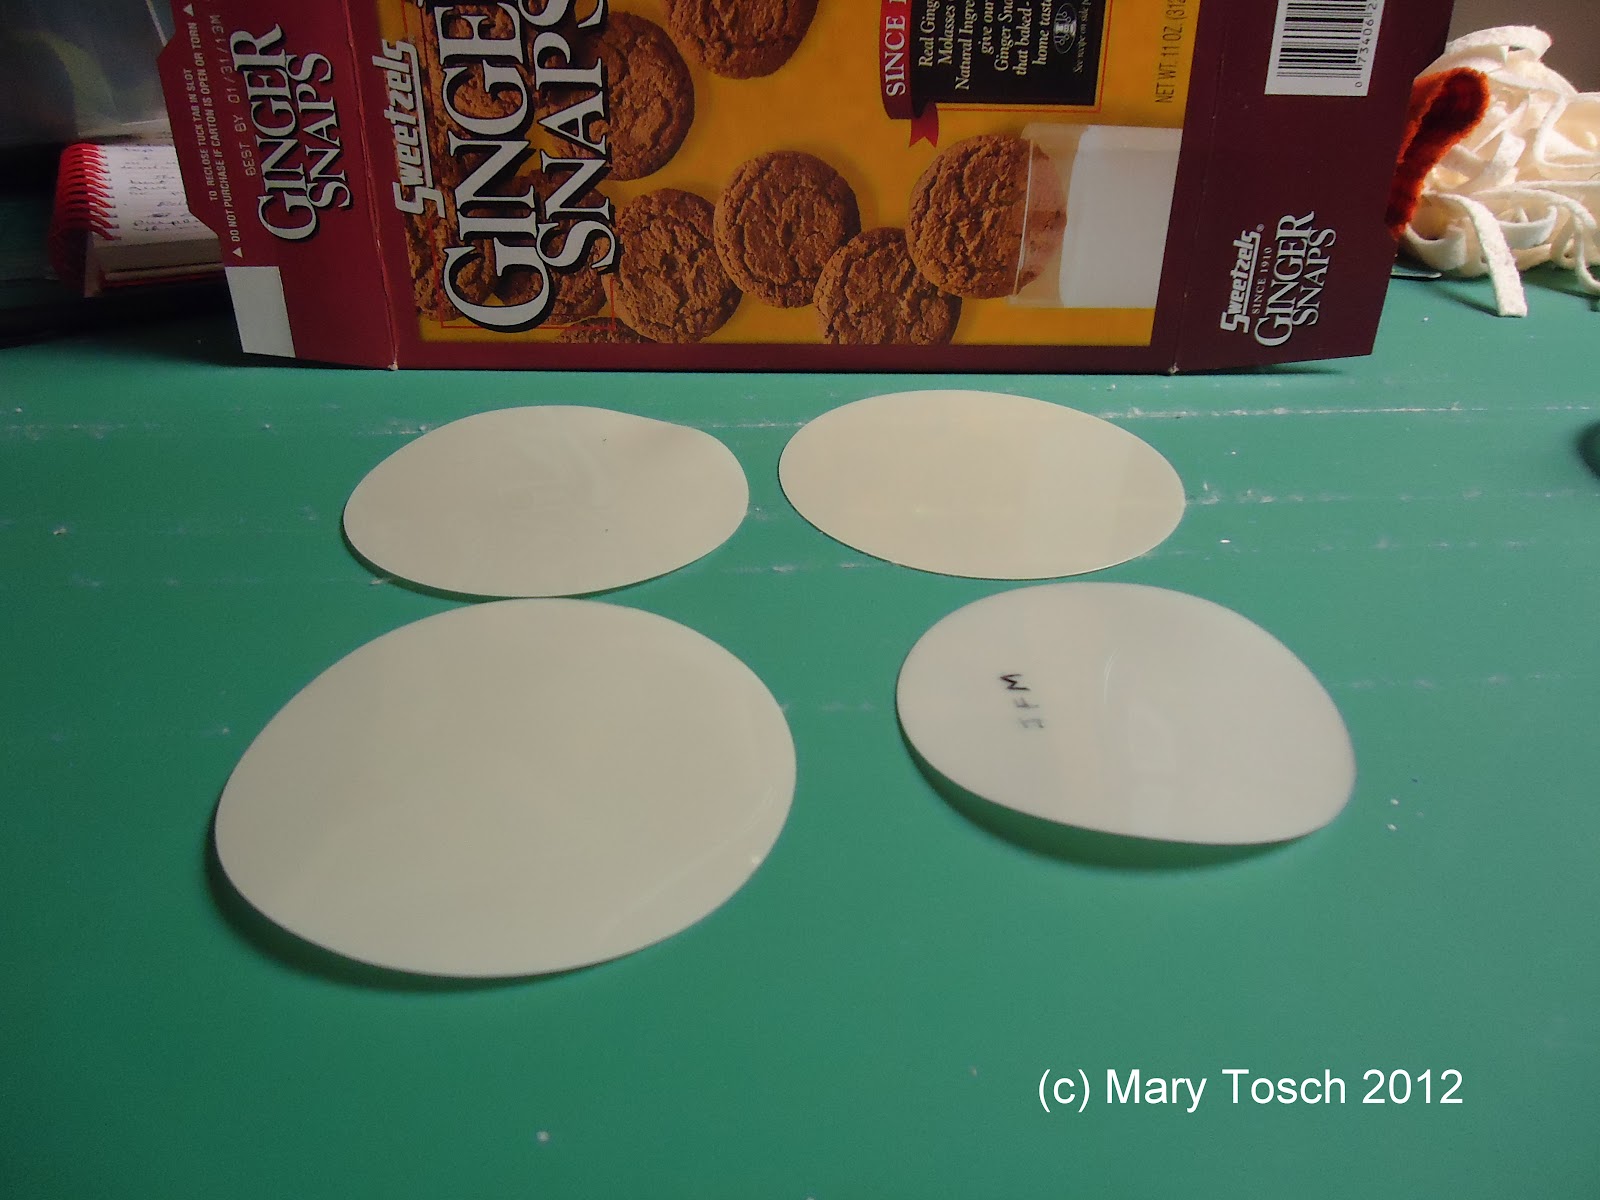
I cut two circles from a cereal box or similar weight paper board. These will become the bottom of my pin cushion.


Begin by rolling one of the narrow ends of the batting strip. You want this to be snug, but not so tight as to stretch the batting out of shape.  
 Continue rolling, keeping one side even, until the diameter of the roll is the same as the paper board circles cut previously.  Place the batting roll, even side down, on the table and tamp down the top. 


This will make the bottom flat. The top side can be a bit uneven.

 Now, it’s time to select our fabric. I like to choose a darker fabric for the bottom. My top fabric is usually lighter in color with minimal design. I found that even a subtle plaid competed with my embellishments. For the sides, anything goes. These were the fabrics I choose for the Pumpkin pin cushion.

  Measure the height and circumference of the batting roll.

 Add 1 inch to the height measurement and 1/2 inch to the circumference. Cut the side fabric to these dimensions. 
 Whip stitch one end of the side fabric to the batting roll. Wrap the fabric around the roll, folding under 1/4 inch at the unattached end.
Sew the folded end to the side fabric.
Thread the needle, double strand, and knot at the end. Run a gathering stitch around the top, 1/4 inch from the edge. Pull the threads to gather the fabric. Secure. Repeat for the bottom end of the batting roll. 
 Take the two paper board circles and glue them together.
Cut a circle of batting using the paperboard circles as a template. Baste the batting circle to the wrong side of the fabric that will be the top of your pin cushion. The stitching should be very close to the edge of the batting.
The basting stitches on the right side will indicate where the batting circle is. This is important if you plan to embellish the top. Keep your designs within the circle. Trim the fabric leaving 1/2” around the edge.
 Cut one or two small batting circles the size of the opening left after gathering the side fabric. (black circle) Set these aside for later. Embellish the top at this point. Once the top is finished, run a double strand gathering stitch 1/4 inch from the edge.
 Cut a circle of heat resistant Mylar using the paperboard circles as a template. Karen Kay Buckley’s Perfect Circles can also be used if you have them. Note: The heat resistant Mylar will become distorted if the temperature is too hot. Notice the warping that has occurred because I forgot to turn down the temperature on my iron.
 Place the Mylar circle over the batting on the wrong side of the top. Pull the gathering stitch until it is snug. DO NOT cut or secure the end thread.
Spray some starch in a small container. Using a small stencil brush, dab some of the starch around the edges of the top. DO NOT soak the fabric. You want just enough to give the fabric some memory. Press with an iron set at the correct temperature for the Mylar. Note: Wool takes longer to dry than cotton, so this step takes a bit of time.
Once, the wool is dry and cool, loosen the gathering stitches just enough to slip the Mylar circle out. Carefully, pull the gathering stitches to re-form the circle. Set aside. 
Cut a circle from the bottom fabric 1/2 inch larger than the paperboard circle.
Run a double strand gathering stitch 1/8 inch from the edge.
Pull the gathering stitch and secure the thread. You can press the edges if you like.
Place the bottom cover on the flat even end of the batting roll. With small stitches, attach the cover to the roll, giving a slight tug to pull the two pieces together.
                                          
Place the small batting circle(s) in the top to make it level. Place the top cover on the roll and secure as you did for the bottom.
I completed the top edges with a blanket stitch, one facing up and the other facing down.
I hope you have enjoyed this tutorial.

Til next time,
Mary